
Coloring a Hawaiian hibiscus flower is an engaging and creative activity that allows you to explore the vibrant beauty of this tropical treasure. Known for its bright and captivating colors, the Hawaiian hibiscus represents royalty, power, and respect. By coloring this tropical flower, you’ll bring a touch of paradise to your artwork.
If you’re eager to create a stunning representation of the Hawaiian hibiscus flower, read through this blog post. I’ll guide you step-by-step on how to color a Hawaiian hibiscus flower coloring page using various techniques and lively colors. Plus, we have free printable hibiscus flower coloring pages available for you. See the link to download them and start your coloring journey.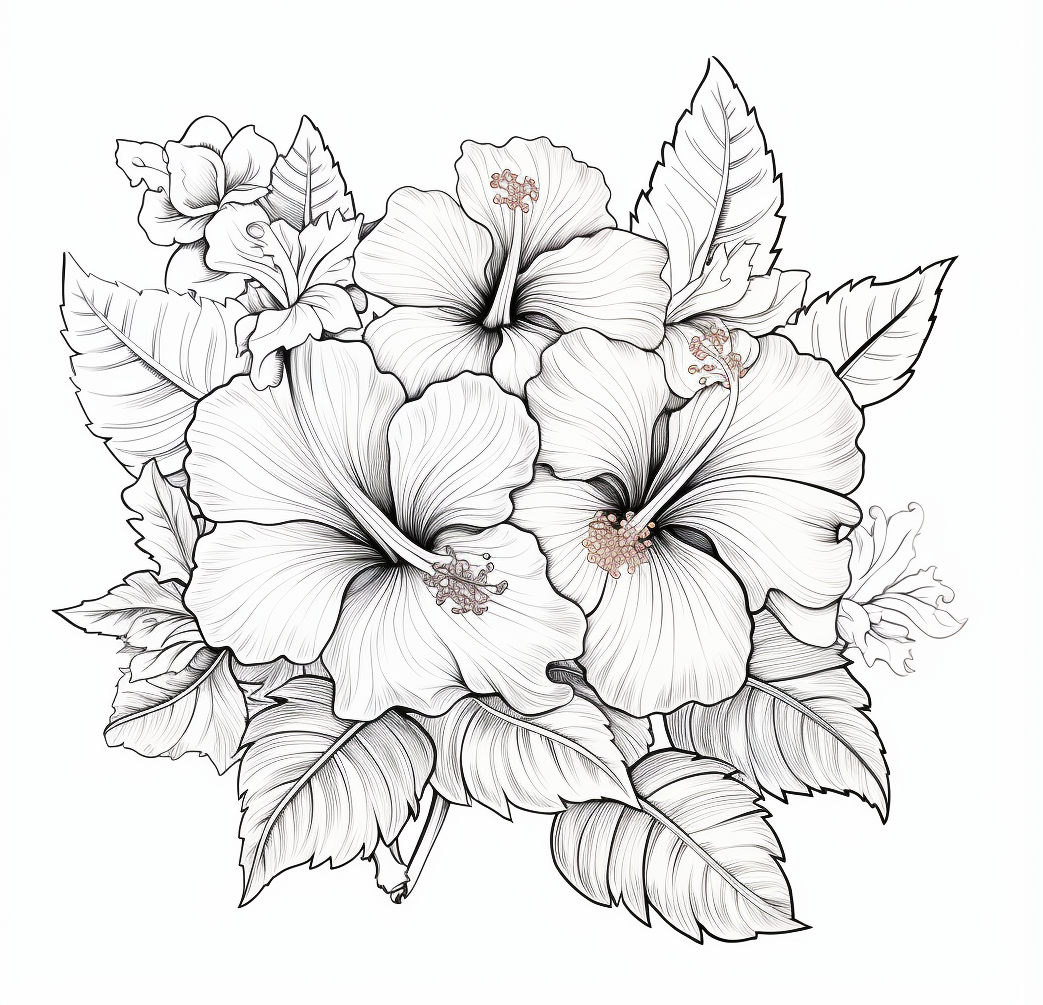
Supplies Needed to Color a Hawaiian Hibiscus Flower
Before you start coloring, gather your supplies. Here’s what you’ll need:
- Coloring pencils
- Watercolors
- Markers
- Crayons
- Pencils
- Erasers
- Hawaiian hibiscus flower drawing book
Once you have these materials ready, you’re all set to bring your Hawaiian hibiscus coloring page to life.
How to Color a Hawaiian Hibiscus Flower
Coloring a Hawaiian hibiscus flower lets you embrace the aloha spirit and showcase your creativity. Here’s a detailed guide to help you achieve stunning results:
1. Select the Right Coloring Supplies
Start by choosing the best coloring supplies for your hibiscus flower. Options include markers, watercolors, crayons, and colored pencils. Watercolors can give your artwork a more natural and vibrant look, while colored pencils are ideal for precise detailing.
2. Understand the Hawaiian Hibiscus
Before you begin, familiarize yourself with the Hawaiian hibiscus flower. As Hawaii’s state flower, it features large, vibrant petals and a bright red center. Understanding its natural beauty will help guide your color choices and enhance your artwork.
3. Choose Your Color Palette
Select a color palette that captures the flower’s tropical essence. While the Hawaiian hibiscus naturally blooms in colors like orange, pink, yellow, and red, feel free to experiment with other bright and cheerful hues to create a unique masterpiece.
4. Sketch and Outline the Flower
Using a quality pencil, lightly sketch the hibiscus flower’s shape. Outline the petals, center, and leaves with light strokes to provide a clear foundation for your coloring.
5. Color the Petals
Begin coloring the petals with a base color. Use the lightest shade first, then gradually add darker tones to create depth and dimension. For example, start with a soft pink or yellow and layer richer hues like deep orange or red for a dynamic effect.
6. Color the Flower’s Center
Next, focus on the flower’s center. Use contrasting colors to make the center stand out. For instance, if the petals are pink, consider using a vibrant red or orange for the center.
7. Color the Leaves
For the leaves, use varying shades of green. Start with a lighter shade for the base and add darker tones to highlight the veins and edges. This technique will give the leaves a realistic and textured appearance.
8. Blend the Colors
Blend the colors to create a smooth transition between shades. Use blending tools like a tissue or a blending pencil to achieve a natural look.
9. Highlight and Shade
Add highlights and shadows to enhance the depth and texture of your hibiscus flower. Use a white colored pencil or light pastel for highlights and a darker shade for shadows. Focus on the petals’ edges and the flower’s center to make it pop.
10. Add a Background
Consider adding a background to complement your hibiscus flower. A tropical garden, a sunny beach, or a soft gradient of blue and green can enhance the overall mood of your artwork.
11. Finish Off
Finally, review your work for any mistakes or areas that need refinement. Use an eraser to fix errors and add any final details, such as delicate patterns on the petals or a subtle sheen on the leaves.
Coloring Pages of Flowers – Lotus, Orchid, Rose, Poppy, Daisy and Hibiscus
How to Color Daisies Coloring Page
Tips for Coloring a Hawaiian Hibiscus Flower
Here are some tips to help you achieve stunning results:
- Use vibrant and bold colors to capture the tropical essence of the hibiscus flower.
- Experiment with blending techniques to create a smooth and natural appearance.
- Pay attention to the flower’s details, such as the veins on the leaves and the texture of the petals.
- Incorporate a complementary background to enhance the overall look of your artwork.
Coloring a Hawaiian hibiscus flower is a delightful way to explore your creativity and celebrate the beauty of tropical nature. By following these steps and tips, you’ll create a captivating masterpiece that reflects the vibrant spirit of the Hawaiian hibiscus. Don’t forget to download our free printable hibiscus flower coloring pages and start your colorful journey today!