
Ariel, the Little Mermaid, is one of the most loved Disney princesses. Coloring the beautiful Princess Ariel from the Little Mermaid cartoon is an exciting activity for fans of this enchanting character. With her long, bright red hair, green mermaid tail, and iconic blue or purple bra top, Ariel offers endless opportunities for creativity.
Coloring her is a way of bringing this beloved character to life on paper. In this guide, I’ll show you step-by-step how to color Ariel using different techniques and materials to make her look lifelike.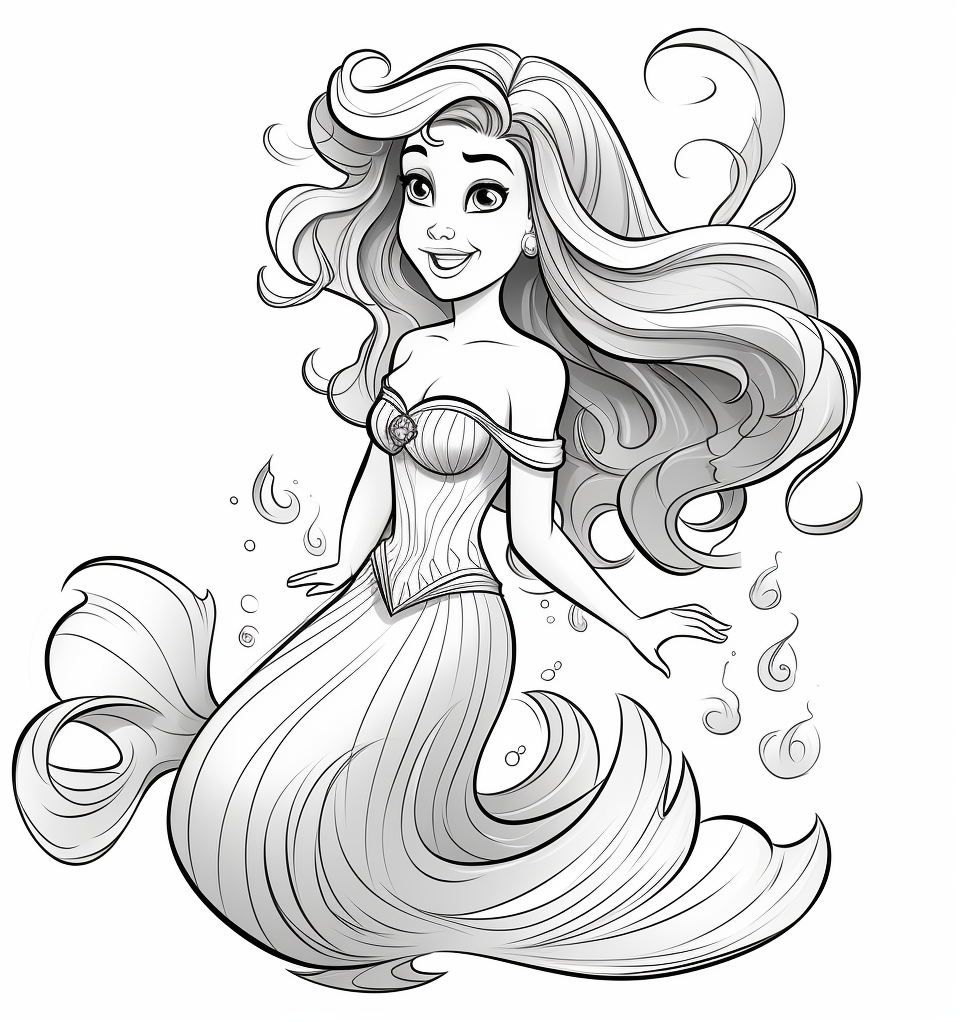
Coloring Supplies Needed to Color Ariel
Before you begin, gather the following supplies to ensure a smooth and enjoyable coloring experience:
- Watercolors
- Paintbrush
- Erasers
- Pencils
- Crayons
- Coloring pencils
- Gel pens
- Ariel coloring page or drawing book
Once you have these materials, you’re ready to start your artistic journey.
Steps on How to Color Ariel Coloring Page
Let’s bring Ariel to life with vibrant colors and creative techniques. Follow these steps to achieve a stunning result:
1. Get a Coloring Page of Ariel
Start by downloading a coloring page of Ariel from our collection. You can find high-quality Ariel coloring pages online—see the link to access them.
2. Choose Your Coloring Medium
Decide which coloring medium you’d like to use. Each medium has its unique qualities:
- Watercolors for a soft, blended look.
- Crayons or coloring pencils for bold and detailed effects.
- Markers for vibrant and striking colors.
Pick what you’re most comfortable with or experiment with a mix to achieve different effects.
3. Select Your Color Palette
Ariel’s traditional colors are:
- Red for her hair
- Green for her mermaid tail
- Blue or purple for her bra top
You can stick to these colors or try other bright shades to give her a fresh, unique look.
4. Start with the Primary Colors
Begin by coloring Ariel’s skin. Use a cream-colored pencil or crayon for a natural tone. Start with light, even strokes and gradually add darker shades to create depth. Focus on her face, arms, and torso while leaving the areas for her hair, bra top, and tail blank for now.
5. Color Ariel’s Hair
Ariel’s long, flowing hair is bright red. Use a vibrant red pencil or marker to color her hair. Start with a lighter shade and layer darker tones to add dimension and texture. For a more realistic effect, draw gentle streaks to mimic the flow of her hair.
6. Color the Top
Ariel’s bra top is typically blue or purple. Use a light shade as the base and add darker tones for shadows and details. You can experiment with metallic gel pens for a shimmering effect.
7. Color the Mermaid Tail
The tail is a signature feature of Ariel. Use shades of green, starting with a light green for the base. Add darker greens and even a hint of blue for shading and highlights. Blend the colors smoothly to create a gradient effect.
8. Add Shading
Shading is essential for a lifelike appearance. Use a darker shade of each base color to add depth to Ariel’s hair, skin, and tail. Focus on areas where shadows naturally fall, such as under her chin, along her arms, and at the folds of her tail.
9. Blend the Colors
Blending creates a polished look. Use a blending pencil, cotton swab, or your finger to soften the transitions between colors. This technique works especially well for her hair and tail.
10. Add Highlights
To make Ariel stand out, add highlights using a white gel pen or pencil. Apply highlights to her hair, tail, and bra top to create a shiny, reflective effect. This detail will make your artwork pop.
11. Add Background Elements
A background enhances the overall composition. You can create an underwater scene with shades of blue and green. Add bubbles, seaweed, or fish for extra detail and creativity.
12. Finishing Touches
Take a moment to review your work. Erase any stray marks and refine details as needed. Add final touches to ensure your artwork looks polished and complete.
Coloring Pages of Cartoons – Pokemon, Spiderman, Ariel, Barbie, Cinderella…….
Tips for Coloring Ariel
- Blend Colors Smoothly: Blending adds depth and realism to your artwork.
- Use Reference Images: Studying images of Ariel can help you achieve accurate colors and details.
- Be Creative: Don’t be afraid to try new color combinations or add your own unique elements.
- Take Your Time: Coloring is a relaxing activity, so enjoy the process.
Why Coloring Ariel Is a Magical Experience
Coloring Ariel allows you to connect with this beloved Disney princess in a creative and personal way. Whether you stick to her classic look or give her a new twist, your artwork will reflect your imagination and style.
Conclusion
Coloring Ariel, the Little Mermaid, is a delightful activity for fans of all ages. By following the steps and tips in this guide, you’ll be able to create a beautiful, lifelike depiction of this iconic princess. Don’t forget to download your Ariel coloring pages and start your creative adventure today!